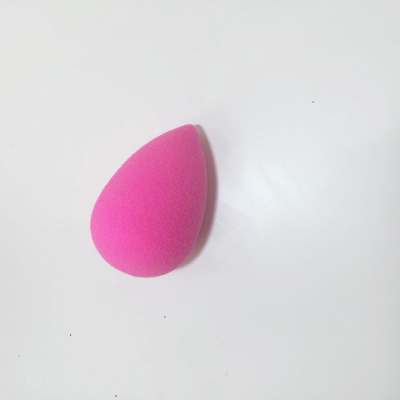
And after about two years of pining over it I finally bought it while I was in Belgrade for New Years celebration. I justified it with telling myself that it was my 'dream' to try it and that I should buy it to test it and write a real review of it on my blog, but after testing it I understand what they were talking about.
The Review and use
The blender comes in a plastic cylinder like container and at a first glance it looks very small and like it cannot do much. After I took it out of the packaging I could not differentiate it between other sponges I have tried and that is quite a lot. But when I put it under the tap, I could really feel and see the difference. The sponge expanded extremely and changed completely. I was really excited to try it out with a foundation and after I did I was disappointed. I was completely struck by the amazing results I got and I was saddened by the fact that I will probably need this sponge for the rest of my life since the price is a little steep for a blending sponge. The Beauty Blender costs 20$ which would be fine if it was a once in a lifetime purchase but I doubt I will be able to stretch the use of it until the day I stop wearing makeup.I have been using it for about two weeks and as I have stated I have been loving it. I put it under the water and squeeze it a few times so it absorbs as much as it can and then when I turn off the water I squeeze it again a few times so that it only remains damp. Next I dot a few drops of foundation all over my face and then dab my foundation with the bigger part of the blender. I don't really do much blending with it, just dabbing. I work in sections, usually starting with my cheeks and then moving on to my chin and the forehead. While I do my cheeks I also go over my eyelids and the under eye area just so I have an even canvas. For the area around my eyes I use the smaller pointy part of the Beauty Blender.
I use different foundations with it, my MAC Matchmaster foundation, Ultra HD Invisible Cover foundation , Bourjois 123 Perfect CC Cream or Revlon Colourstay, and it works well with all of them, except I am not sure about the CC cream yet. It works exceptionally with the Matchmaster because it really blends it nicely into my skin, while using just a brush would not give me the same perfect result.
The Cleaning
At first I was cleaning it just with my gentle nivea face wash since it seems to do the job with my brushes. But then I thought about my OCM routine and decided to try it with my blender. I use Johnson& Johnson Baby Oil with lavender in the same way I use the face wash. I just douse the oil over it an squeeze it a few times. Then after I feel like all of the foundation and other stuff have gone away I wash it with face cleanser to get the oil out of it and then I let it dry.
I also don't feel like it absorbs a lot of product so it is not wasteful.
Here is what the Beauty Blender looks like when extremely dirty, it usually is not like that but I was doing a dramatic eye makeup and I blended the edges of it with my BB.
And here is what it looks like when I wash it, like a brand new sponge.
The Conclusion
I love love love my Beauty Blender and I will be buying it until I find something alike or better. I do want to try the Miracle Complexion Sponge by Real Techniques.
I feel like the price is a bit too high for the product but I really love it.


No comments:
Post a Comment